In the last ten years, photo booths have turned into a big hit for wedding fun. They’re a blast for people to enjoy, especially when there’s downtime during the event. A special memento of your special day is also given to your loved ones by them. Instead of a traditional guest book, you can set up a blank book and some glue next to your photo booth so everyone can stick their pictures in and write a note.
There are plenty of photo booth businesses you can rent from for your wedding day. Prices usually range from £400 to £800. What you pay will depend on the photo booth’s look, the background you choose, and how long you want it for. Renting a photo booth often comes with delivery, someone to help run it, props, outfits to dress up in, as many prints as you want on the day, and digital copies to keep (though sometimes you might have to pay extra for those after the wedding).
These companies offer all sorts of fun themes to choose from, like Mini Cooper cars, bright Asian tuk-tuks, VW campers, old-fashioned Airstream trailers, horse boxes, and even big inflatable rooms!
Do not worry if you are on a tight budget for your wedding and can not afford to rent a photo booth. It need not be expensive or require a lot of work to produce one.
To assist you in creating your DIY photo booth, we have created a straightforward tutorial. It has ideas for backdrops, props, camera advice, and apps for photo booths.
Table of Contents
How To Make a DIY Photo Booth
Step 1
Find a Spot for Your Photo Booth Before you get excited and start looking up cool photo booth designs, you need to plan. Make sure there’s room at your wedding venue for a photo booth. Where’s the best spot? It should be close to where everyone is, but not so close that people feel too shy to use it.
Maybe there’s a nice corner or a small room where you can put it. If it’s a summer wedding, think about setting it up outside in something like a horse box or on a patio. Just make sure it’s easy for your guests to find and not too far from the main party area.
Lots of wedding venues have had photo booths before, so ask the venue staff where the best spot is. They’ll know a place that’s worked well before.
Once you’ve picked a spot for your photo booth, measure how much room you have. This is crucial for what comes next!
Step 2
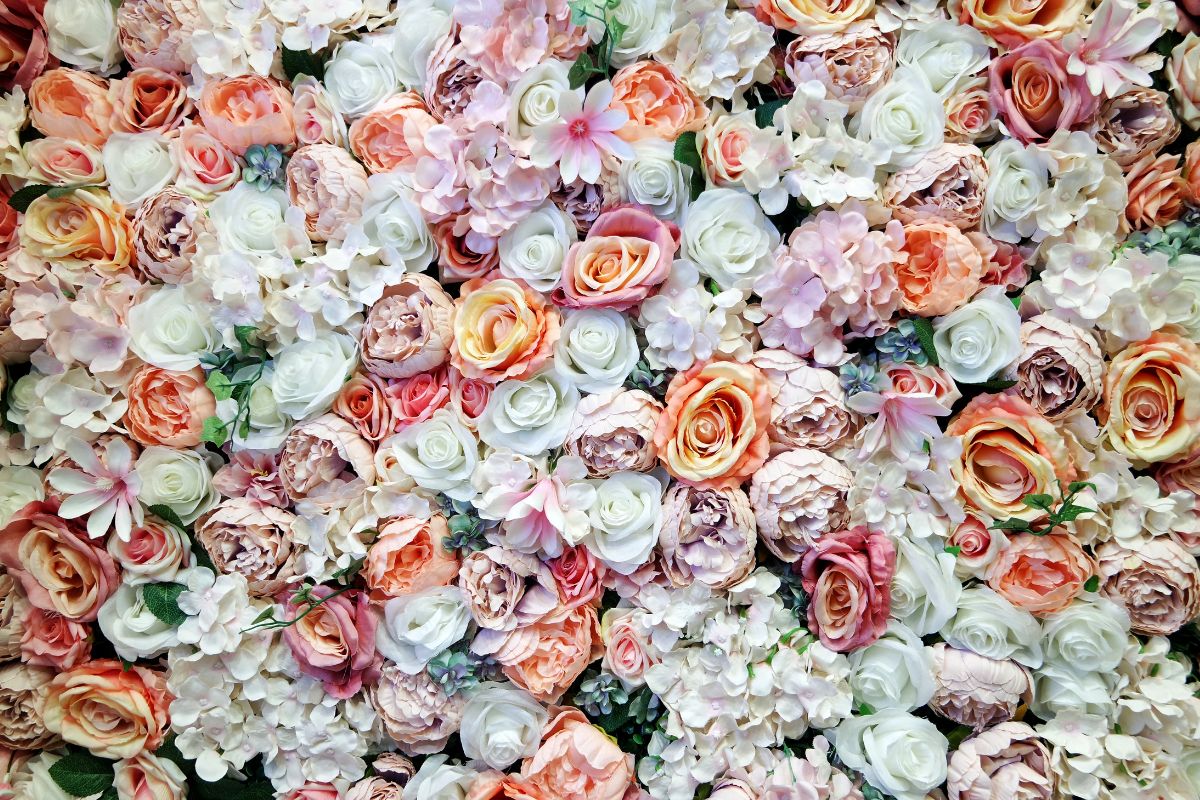
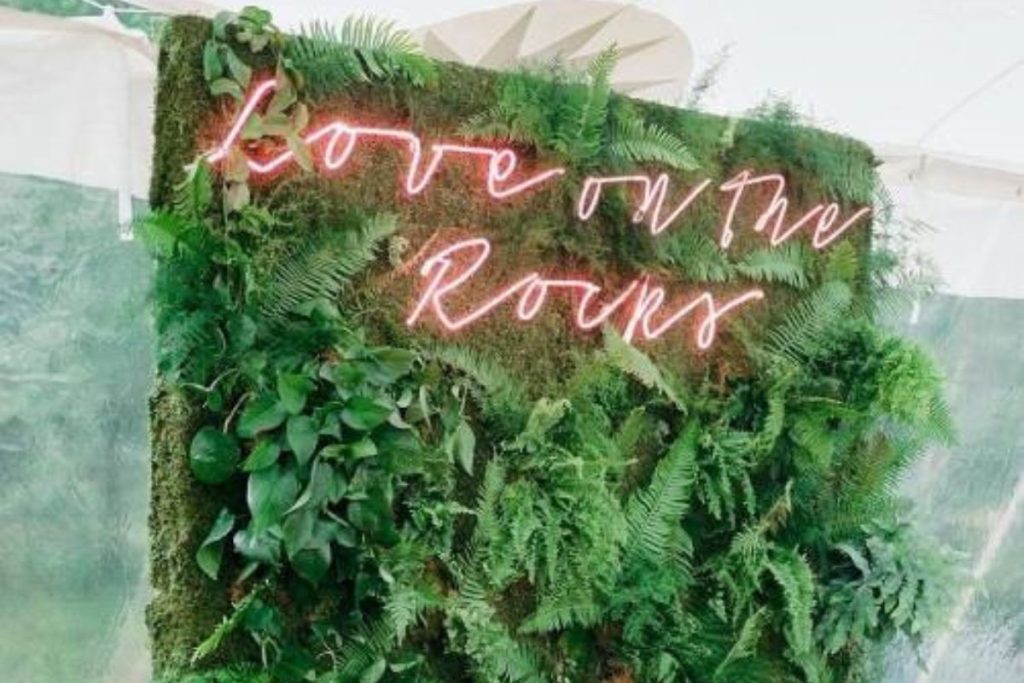
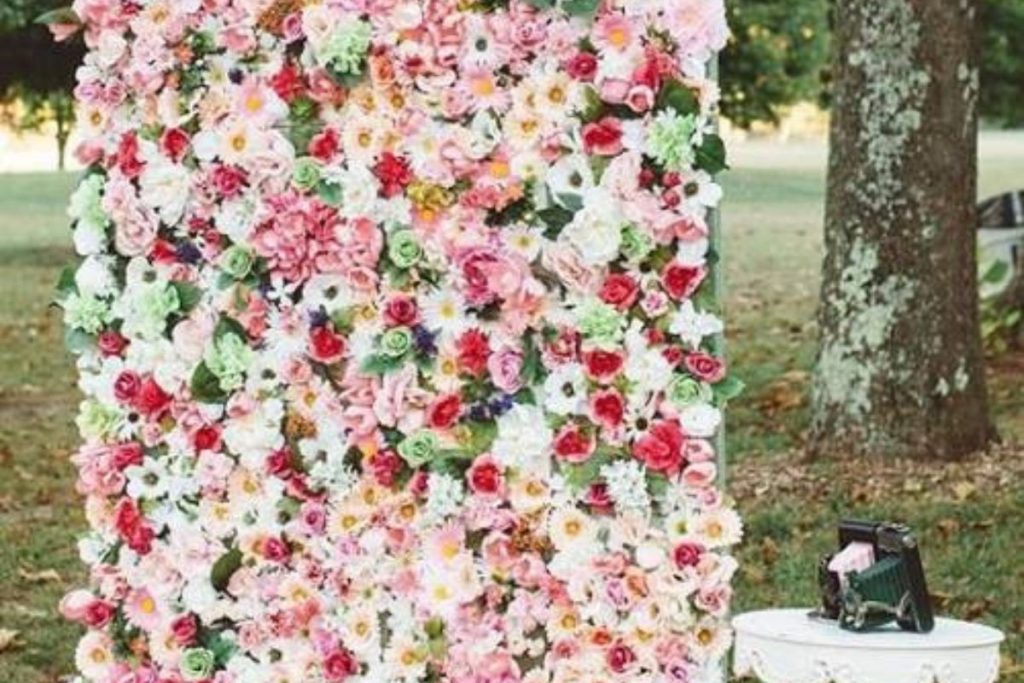
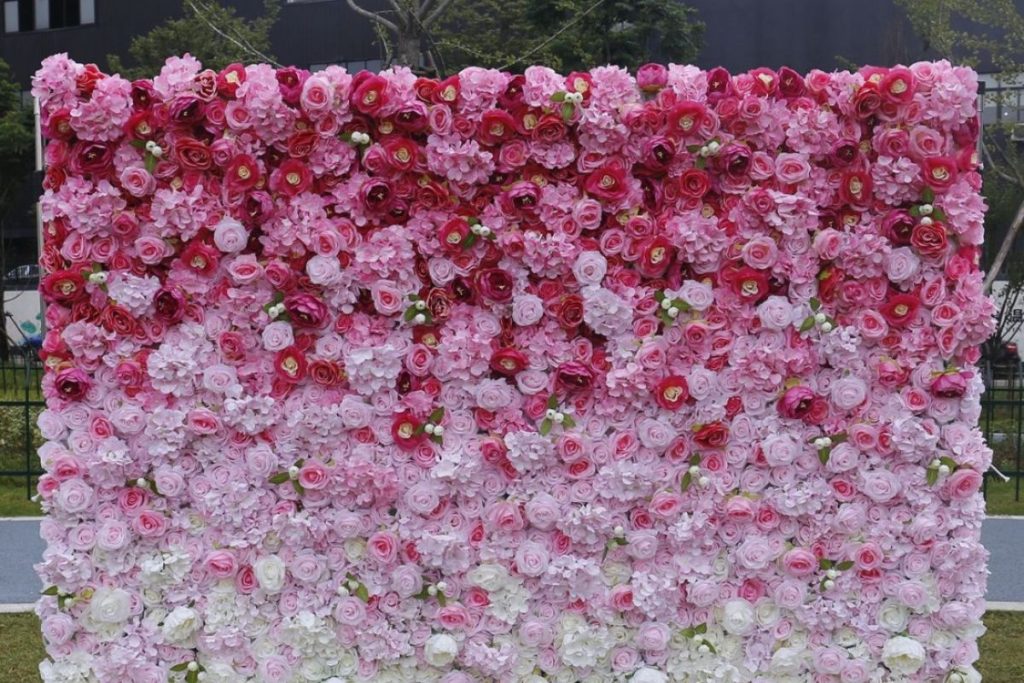
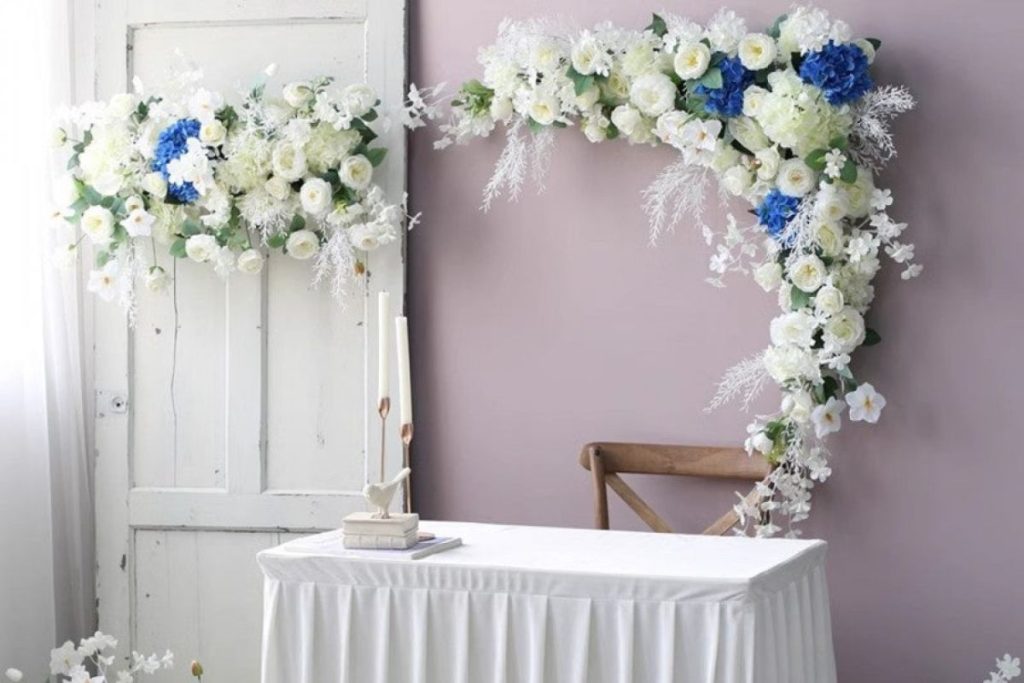
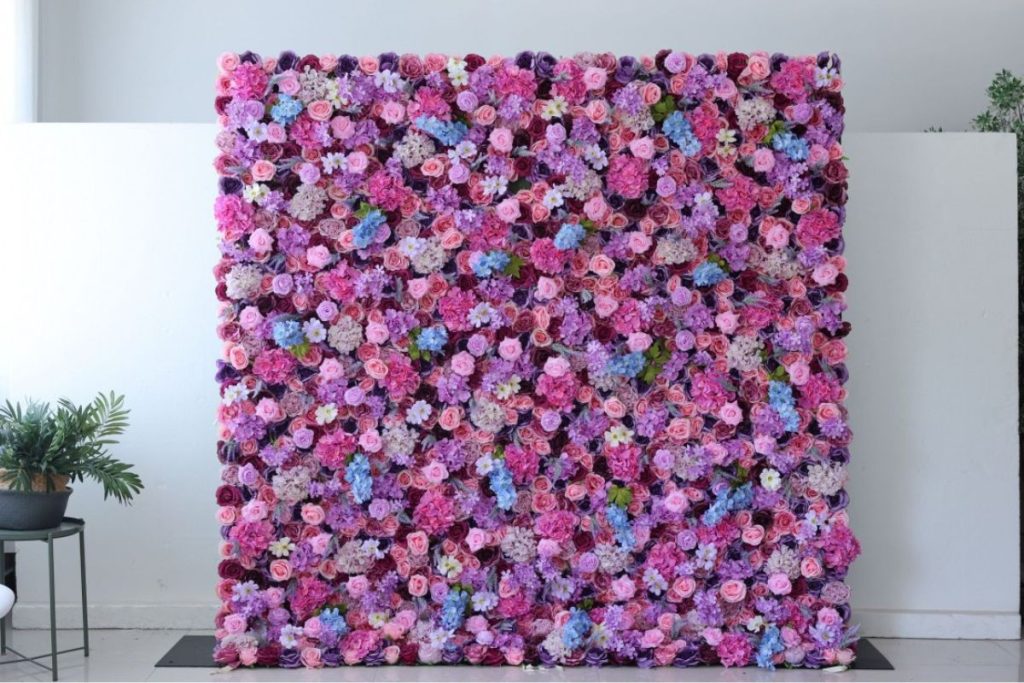
Choose a Theme for Your Backdrop Now that you know how much space you have, you can have fun picking out a design for your backdrop. Try to match it with your wedding’s theme. If you’re having a tropical wedding, maybe go with palm leaves. A garden theme could use a flower wall. A charming tipi or hay bales would be ideal for a festival wedding.
Don’t go too over the top. Sometimes simplicity is better. Think about what you can make and how much time you have. Also, remember you’ll need to move your backdrop to your venue, so don’t build something too big if you only have a small car!
We’ve found some cool DIY photo booths online to inspire your own wedding day setup.
Step 3
Pick a Camera for Your Booth With your backdrop ready, now you need a camera. Don’t rush out to buy a new one—see what you have at home or what you can borrow to save money.
Polaroid cameras are simple to use because the images print out instantly. But remember, Polaroid film can be pricey, so you might want to limit how many photos people can take.
List the necessities and double-check it. Guests can take pictures with their phones and share them online with a special wedding hashtag or on a photo booth app. Or, you can get a portable photo printer that connects to a phone and prints pictures on the spot.
If you want something more professional, use a DSLR camera on a tripod. This is only practical if you can borrow one or already own one.. You can have friends take turns snapping photos, or set up a remote so guests can take their own pictures.
If cameras aren’t your thing, ask a friend who knows about them to make sure your pictures don’t end up too bright or too dark.
After the wedding, you can upload all the pictures to an online site or app for everyone to see.
Step 4
Get Props and Costumes Props and outfits make a photo booth more fun. Look for inexpensive and silly things like big glasses, funny signs, human hair wigs, and quick costumes. You could even make some yourself or buy a kit.
Think about adding some theme-related decorations to your booth, like old suitcases or a fun chair. In place of props, you could also put up a glitter station or face painting for your guests to use.
Step 5
Set Everything Up and Test It Before your big day, make sure you test everything. List the necessities and double-check it.. Set up your backdrop and camera, then take some test photos to make sure everything looks good. Change things if you need to.
On your wedding day, have a sign or some instructions by your photo booth so guests know what to do. Ask a friend or family member to keep an eye on the booth and help guests if they need it.
Making your photo booth is a great way to save money and add a personal touch to your wedding. Additionally, it provides your guests with a memorable memento of your big day and is a fun pastime. All you have to do is follow these procedures, and everyone will appreciate your unique photo booth!