Start with clean and well-shaped nails. Even the most skilled artist can’t create an attractive design on bitten down or chipped nails.
Dots are a basic nail art design that is easy to master. Dip a toothpick, striper brush or other implement into a polish color and apply tiny dots on each nail.
Table of Contents
Read Books
If you want to take your design nail art to the next level, try reading a book that will teach you a new technique. The authors of these books are often experts in the field and can provide you with tips that will make your nails look better than ever. They may also have pictures of different designs that you can use as inspiration for your own manicures.
The first step in creating a stunning nail art design is choosing the right color. There are many colors to choose from, but some shades are more popular than others. For example, ombre nails are a classic choice that can be used to create almost any kind of look. They can be done in any color family, and they can include glitter accents or rhinestones to add sparkle.
Flowers are another popular nail color, and they can be used to create a variety of different designs. You can even try a flower crown design that includes multiple flowers on each nail. This look is perfect for summer, and it can be paired with other bright shades to make your nails stand out.
Nail art requires a little extra preparation, but the results are worth it. It’s important to apply a base coat and top coat before starting your design, and these products can be purchased in any beauty store. The base coat will protect your natural nail and help your polish last longer, while the top coat seals in your design and provides protection against chipping.
Watch Videos
If you’re not sure where to start, check out video tutorials on YouTube for inspiration and instruction. Watching how a nail artist makes a specific nail art design will help you understand the techniques used. It’ll also give you a better idea of what supplies are required for the look you want to create. These videos will include tips about how to apply glitter and rhinestones and how to use a nail art stamping kit.
Many designs may seem complicated and difficult to accomplish at first glance, but they are easy enough for even a beginner. For example, a woman in a video shows how to paint her nails with a cow print, a flower and a geometric design. These looks are all achievable at home with the right tools and polishes.
You can also try to make a marble effect on your nails by applying spots of one color and then adding several spots of another colour directly over them while they’re wet. Drag the pools of colour outward together using a striper brush, clean toothpick or other implement in a S-shaped, criss-cross or figure 8 pattern.
For another simple design, use a light base coat color and then paint groups of dots in a circle on your nails to create the shape of flowers. For extra detail, use a fine-tipped implement to “draw” on top of the wet dots to create rays or other designs.
Practice
Just like any other art form, nail design takes practice. Even if you don’t end up with perfect nails on your first attempt, don’t give up. Keep practicing and learning new techniques, and soon you’ll be able to create beautiful designs that are sure to impress.
To make basic designs, apply a thin layer of base coat and then a color of your choice. Next, use a dotting tool or the end of a bobby pin to create dots across your nails. You can also use a striping polish brush to create stripes. Once your dots and stripes are dry, apply a clear top coat to protect them.
Another way to add a bit of flare to your nails is by using stencils. You can find stencils online or at many nail supply stores. Once you have your stencils, apply a coat of base coat and then paint the stencils with a color that matches your nails. Then carefully remove the stencils and apply a clear top coat to seal the design.
If you’re looking to take your nail art skills to the next level, consider taking a class with a professional. Spending just a few hours with an experienced teacher can advance your skills faster than you might expect. Plus, meeting other nail art enthusiasts can be a great source of inspiration and support.
Take a Class
Taking a course on nail art can advance your skills and help you develop your own unique style. Whether you want to perfect French tips or create intricate designs, an instructor can teach you the necessary techniques and provide feedback and guidance along the way. Taking a class can also introduce you to new tools and products that can improve your work. It can also be a great way to meet other creative people and build lasting connections in the industry.
If you are a beginner, start by creating simple curved lines or stripes. If you are comfortable with these, you can begin to experiment with other shapes and colors. Remember to apply a small amount of paint at a time. If you have a lot of paint on your brush, it will be difficult to control the fine details of your nail design. It is also a good idea to rest your arm on something to steady it and avoid smudges or blotches.
Conclusion
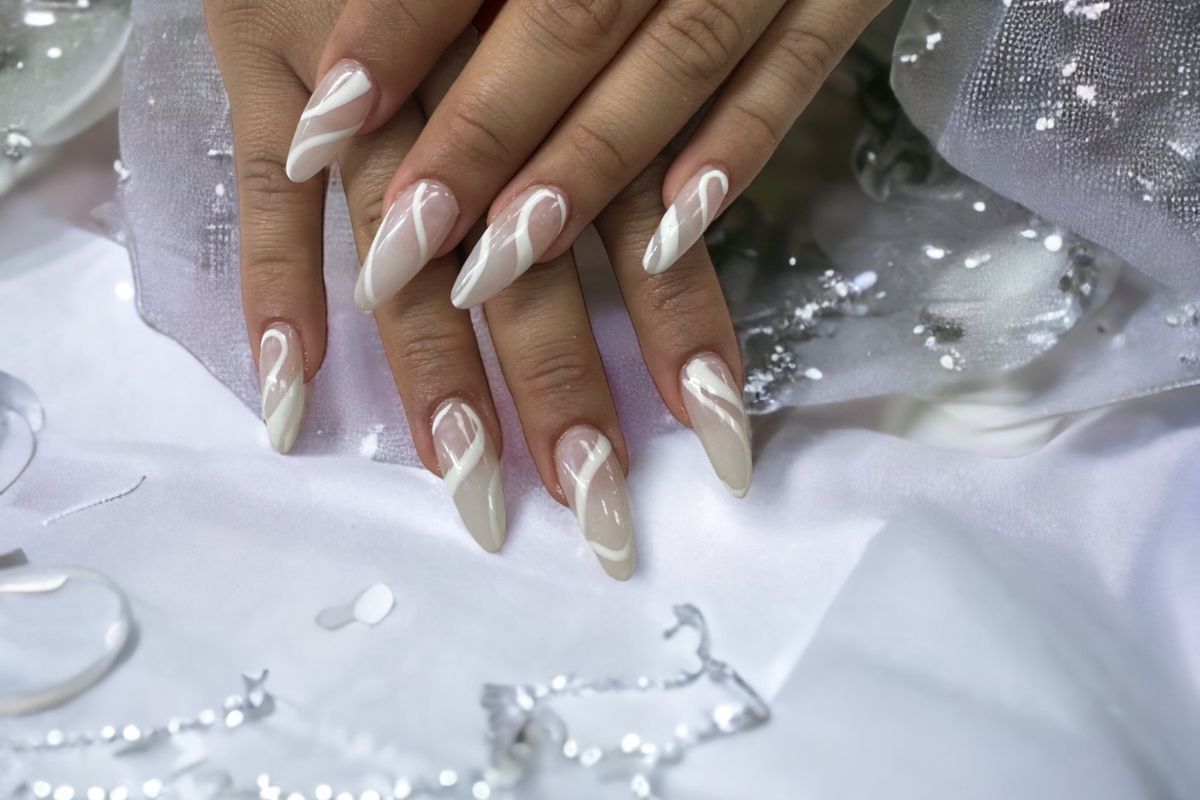
If you’re feeling adventurous, try painting a swirling pattern on your nails. To do this, mix two different nail polish colors together on your nail and drag the color across the surface using a clean toothpick or striper brush. You can also try gradient (ombre) nails, which use a light and dark color or colors from the same family.